Our studio offers two types of camp: 5-day “Dance Camp” for ages 6-10 and 4-day “Princess Camp” for ages 4-6.
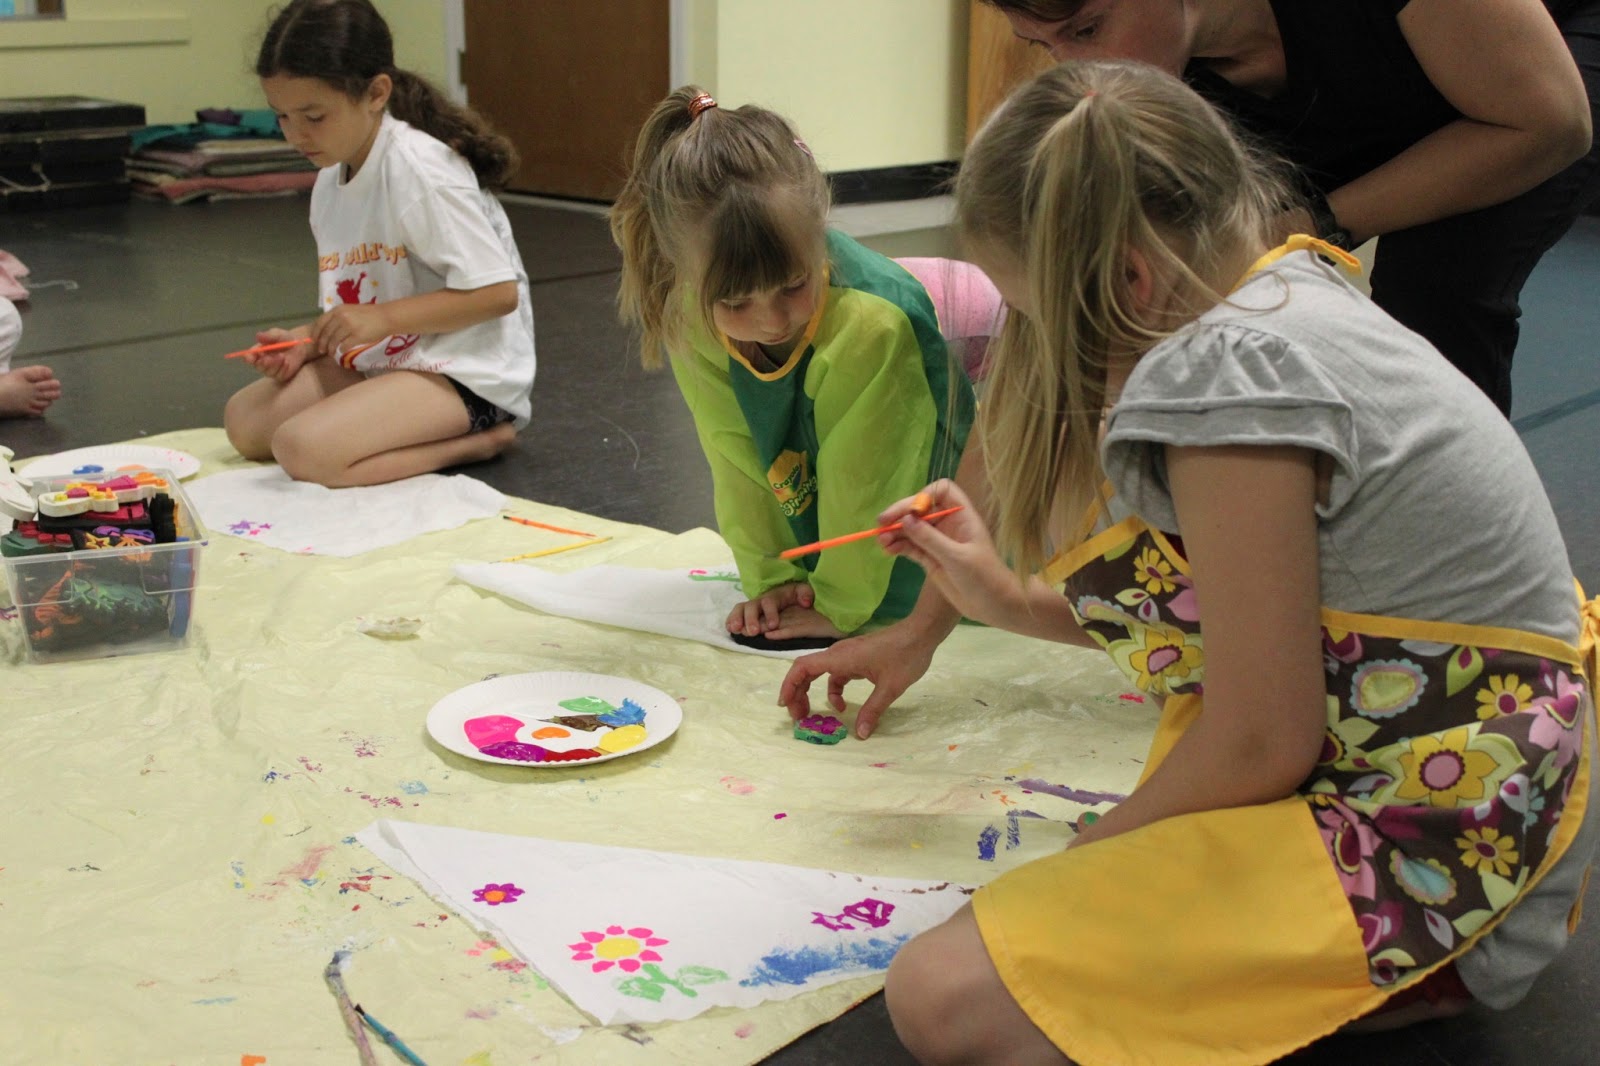
For both camps, the students come each day for three hours from 9am – noon and we dance and do arts and crafts.
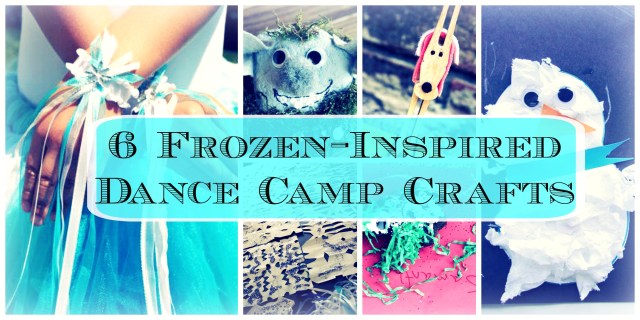
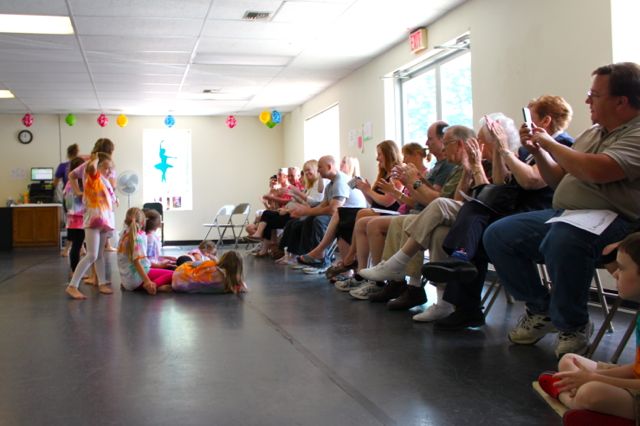
Each year we do a different theme and base the week’s lessons around that theme. We hold an impromptu little “show” on the last day of camp for family and friends.
This year, the older kids’ camp theme was “Western / Cowgirls / Hoe Down”, which my camp director had a blast planning and I enjoyed doing! I wanted to share our week with you and hopefully it will give you some ideas for your camp or even just some fun crafts to do at home this summer! Psst – if you’re looking for another camp idea – check out last year’s “Rock Star” Camp.
Day #1 Agenda
8:50-9:00am – Parent Drop-off & Student Sign-in
9:00-9:30am – Warm-up & “Get to know you” activities – I like doing the Name Game as an icebreaker
9:30-10:00am – Jazz Dance class – we learn our first group dance
10:00-10:45am – Craft – Tie-dye
10:45-11:00am – Snack Time
11:00-11:45am – Tap Class – we learn our first tap dance
11:45-12:00pm – Games / Cool-down
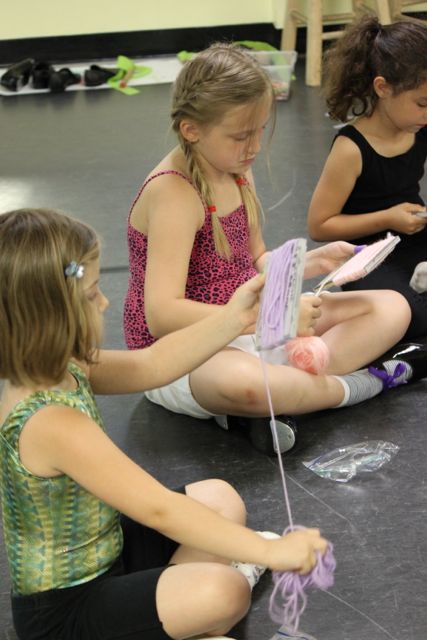
Day #1 Craft: Tie-Dye
You Will Need:
– T-Shirts
– Fabric Dye
– Buckets
– Rubberbands
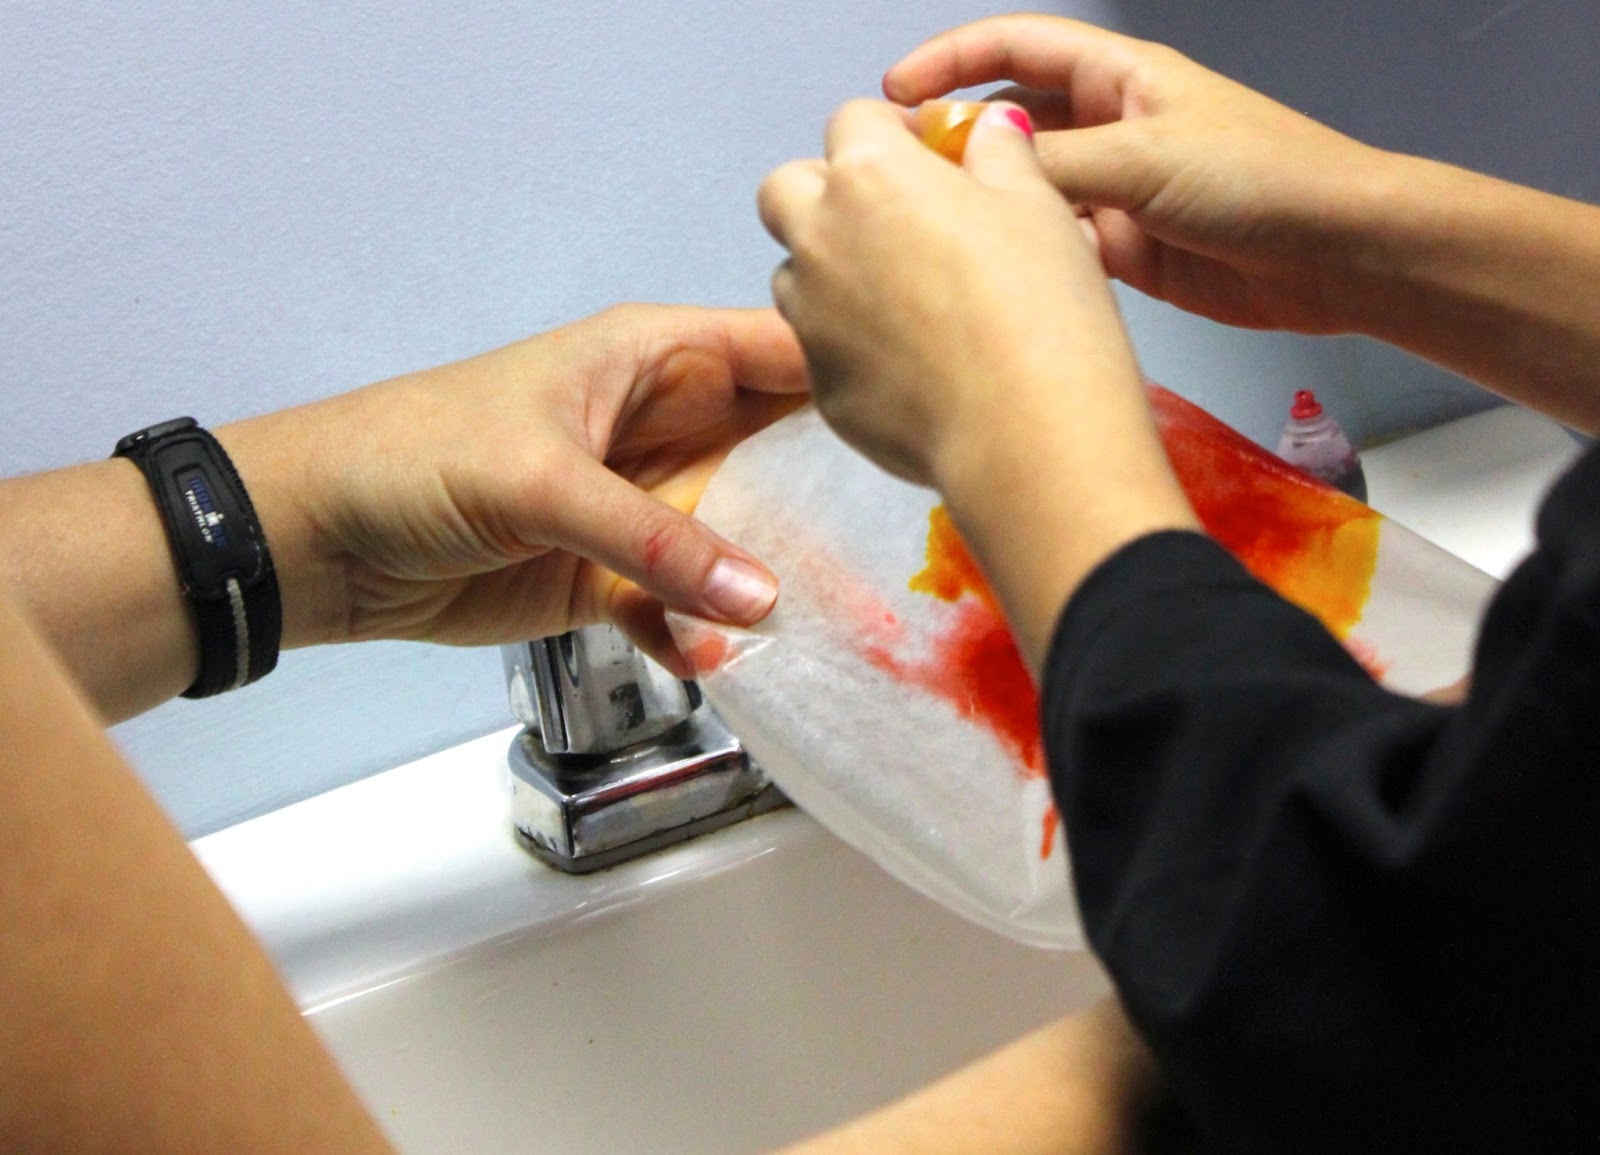
The first day of all of our camps we traditionally do tie-dye, as the shirts take some time to dry and we sometimes use the tie-dyed shirts in later projects. This year was no different and we took to the sidewalk outside our school to tie-dye.
Before heading outside, we wrapped our shirts with rubber bands. Depending on the age of your kids, you can
get pretty creative. Our campers favored the Spiral, Stripes and Dots techniques.
We are fortunate to have a spigot in the front of our building, so we use that to fill up a bunch of tubs mixed with tie-dye and place them on the sidewalk and let the kids have at it. We had a small group this time, so we let them all go at once, but if you have a larger group, you might have to break it up.
 |
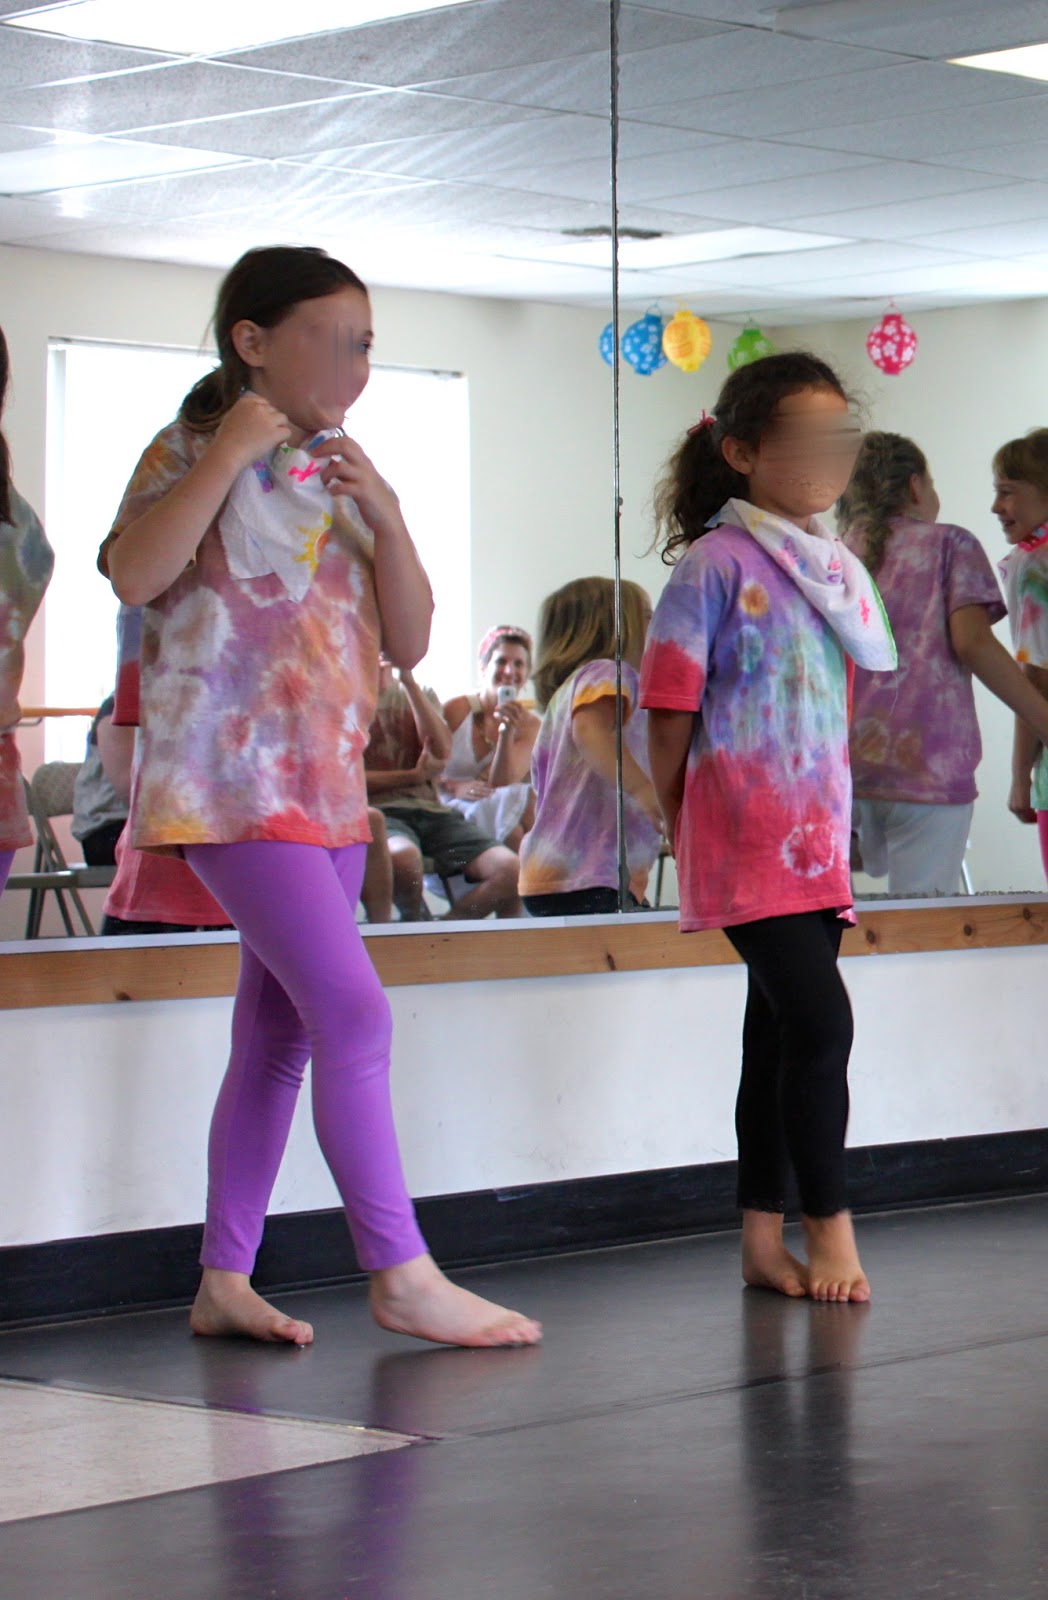
| Wearing our T-shirts for the show! |
Tip: The younger children always want to dip their shirts in Every Single Bucket because… well, its just fun to dip in the buckets! If you use dark colors, their shirts will end up a not-so-pretty brown color. We try to get colors that are light and will mix well if layered (yellow, pink, purple, orange).
More tips from last year.
After they have dyed to their heart’s content, one of the teachers washes the T-shirt under the cold water until no more dye runs out and then the kids hang them up to dry (we use a portable ballet barre on the sidewalk).
Day #1 Playlist