Western Week Day #4: Cowgirl Vests!

It’s Day #4 at Western Week Dance Camp!  Today we are working on practicing our “show” and making costumes.

Day #4 Agenda

8:50-9:00am – Parent Drop-off / Student Sign-in

9:00-9:30am – Warm-up

9:30-10:00am – Jazz Dance class – practicing our dances in sequence

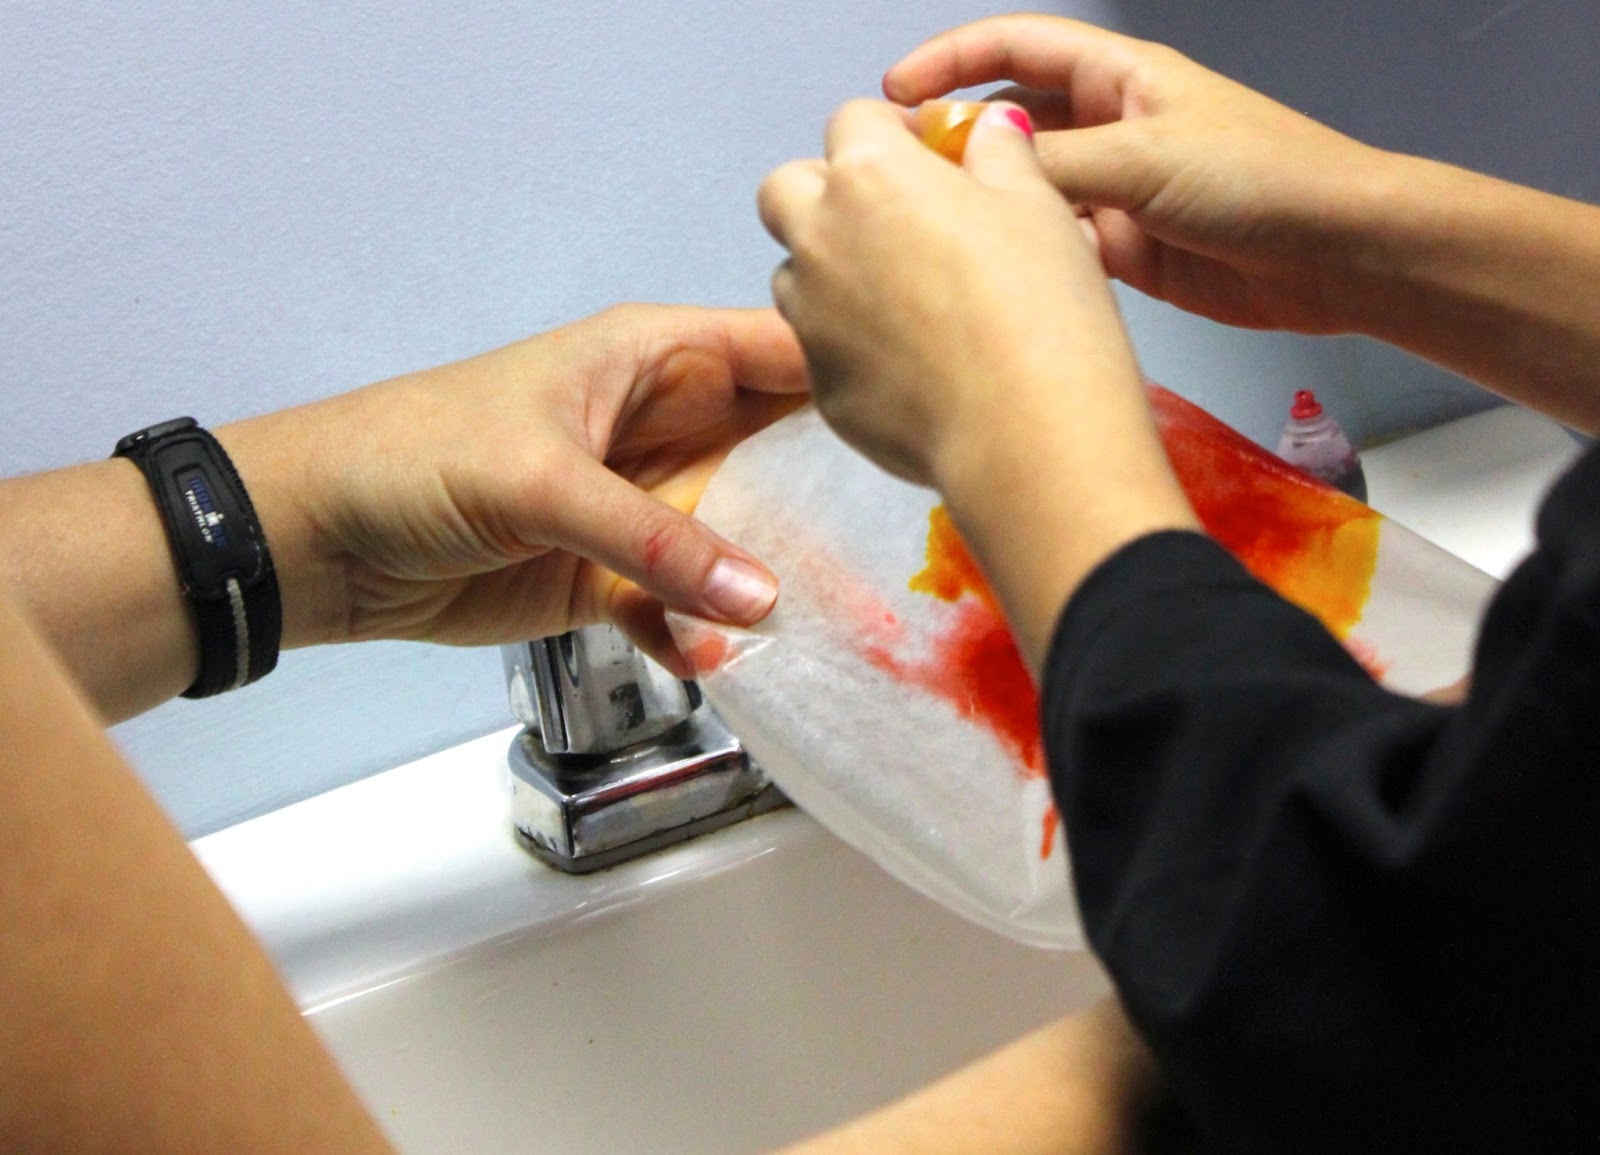
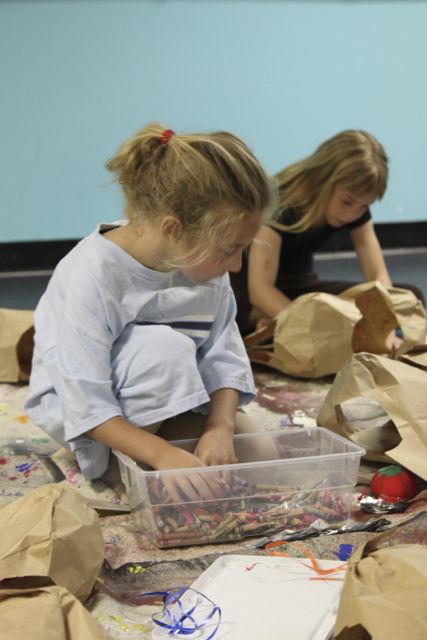
10:00-10:45am – Craft – Cowgirl Vests & Foot Print Horses

10:45-11:00am – Snack Time

11:00-11:45am – Tap Class – practicing our dances in sequence

11:45-12:00pm – Games / Cool-down – Relay Race!

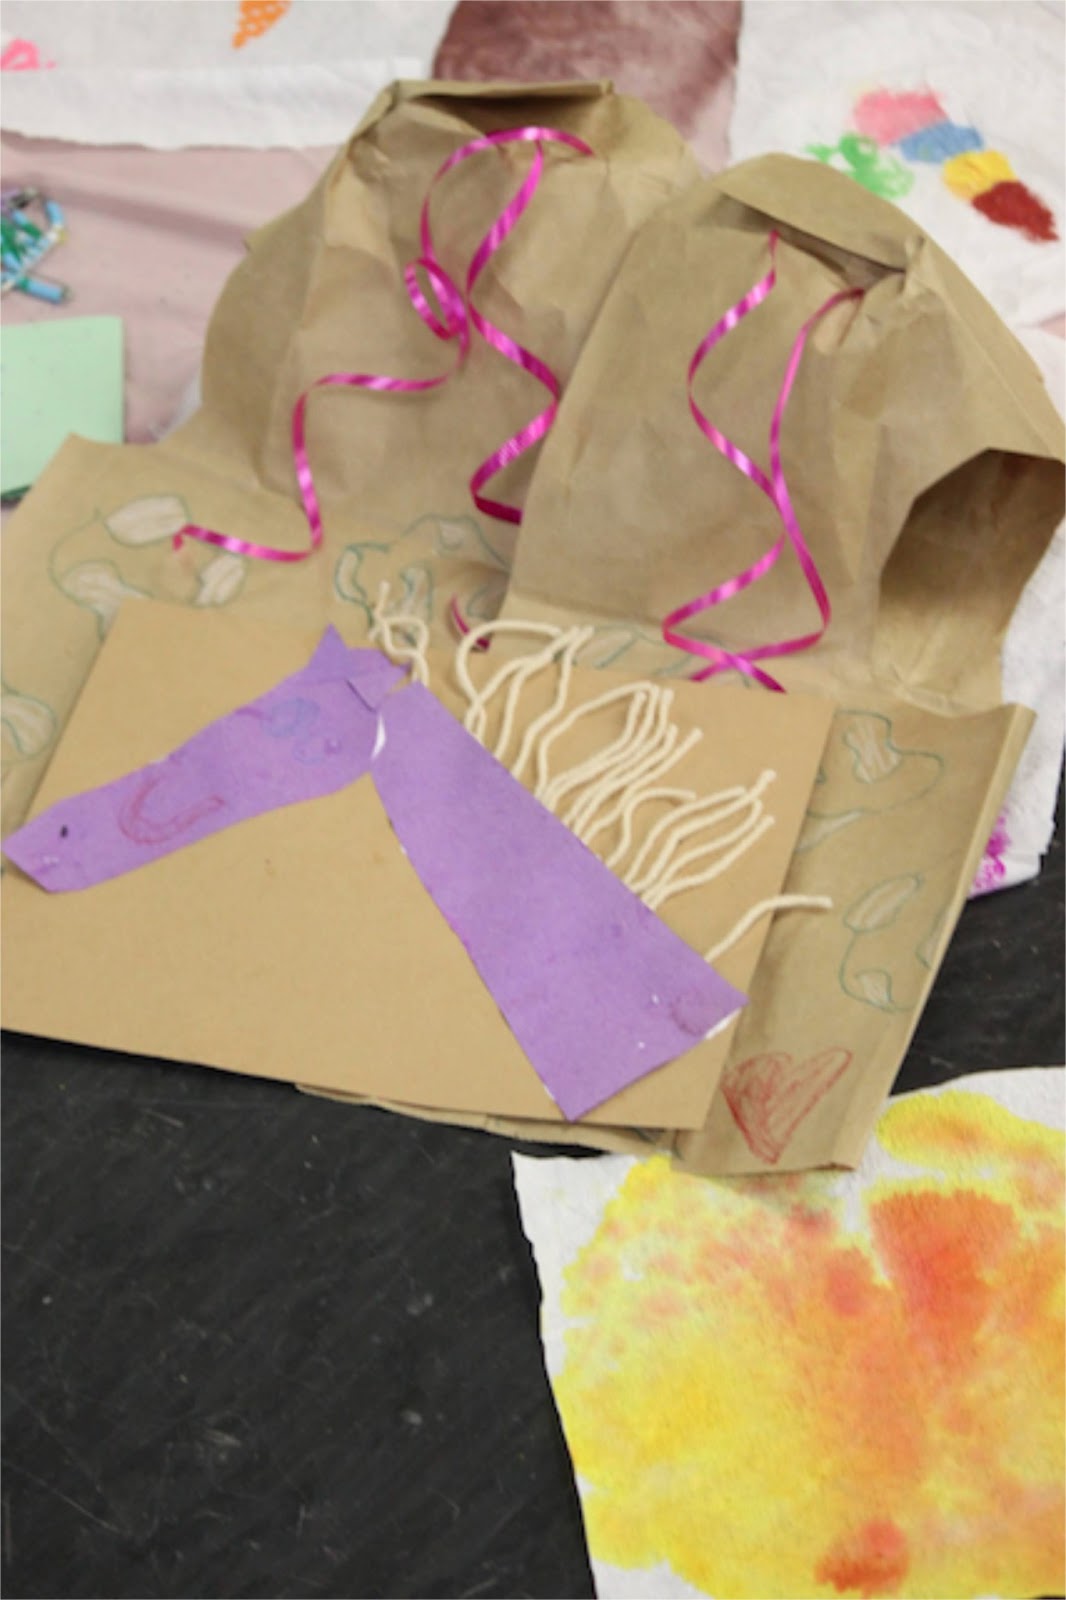
Day #4 Crafts: Cowgirl Vests & Foot Print Horses

For the Vests, you will need:

– Large paper bags
– Ribbons
– Scissors
– Crayons, paint, markers – whatever you want to decorate with (we used crayons)
– Tin foil & large-eyed needle
Prep Work for today’s craft: Cutting out the arm and neck holes for each vest, laying out all the “decorations”.We followed these instructions from Crayola’s website.  Everyone got to decorate their own vest with as much ribbon and coloring as they chose.  Some girls made “fringe” at the bottom with scissors (you could also tear it if you have little ones).

Picking out just the right colors for her vest!
Having fun coloring on the vests
The hardest part was the tin foil “badges” or “rosettes” – to get them to stay on, a teacher needed to help  poke the ribbon through the vest with a large needle.  The kids were able to thread the needle, but it was too hard to push through without an adult’s help.
Our vests waiting for the show tomorrow…

For the Foot Print Horses craft, you will need:

– Multiple colors of construction paper

– Yarn

– Glue

– Googly eyes (optional)

– Crayons or markers

We enjoyed this one because we also learned our “Bullseye the Horse” tap dance that day (song from Toy Story).

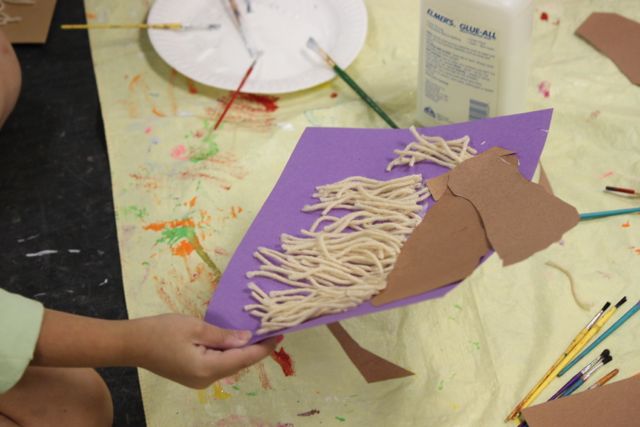
Instructions can be found at Busy Bee Crafts. The basic idea is that you trace your foot print onto a piece of construction paper and that becomes the horse’s head.  You add it to a long triangle piece, two little triangles for ears, add yarn for a mane and you’ve got a horse!

The girls had a blast tracing their feet – it produced lots of giggles!  They were able to cut out their foot tracing easily and paste it on.  We had a pre-assemble horsey so that they could figure out what piece went where.

This horse is galloping right off the paper!  She’s a fast one 🙂

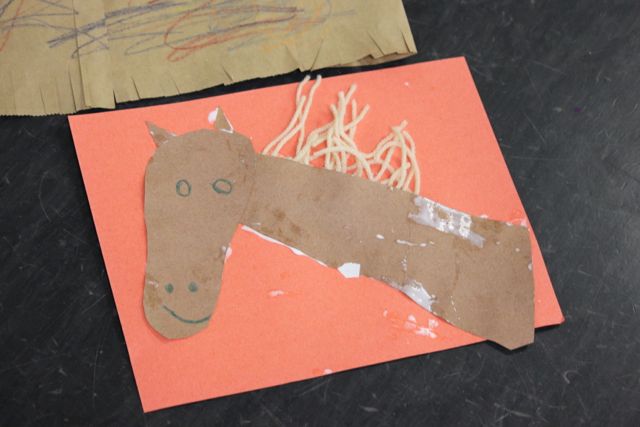
Some of the girls opted to draw a face on their horse.

A happy horsey
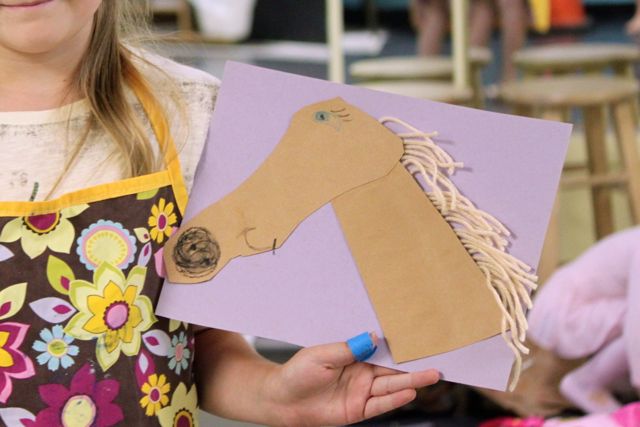
Another beautiful horse – this one with some eyelashes!

We left everything to dry overnight and we were very excited because tomorrow is the show!


Get along little doggie – see ya tomorrow!

Western Week Day #3: Into the Sunset

For Day #3 of our Western Week Dance Camp we are learning more new dance steps and finishing up our sunsets!

Day #3 Agenda

8:50-9:00am – Parent Drop-off / Student Sign-in
9:00-9:30am – Warm-up – we made Negative Space Statues
9:30-10:00am – Jazz Dance class – adding on to our dances
10:00-10:45am – Craft –
10:45-11:00am – Snack Time
11:00-11:45am – Tap Class – reviewing yesterday’s dance
11:45-12:00pm – Games / Cool-down – we made an obstacle course

Day #3 Crafts: Cowboy Sunsets (Part 2) & Bead Pins

Part Two of Cowboy Sunsets:

Yesterday we made the “sunset” portion of the craft and had to let the coffee filters dry overnight.

Adding dye to the coffee filters

Prep Work for today’s craft: Cutting out the rims of paper plates

Today we will make and decorate the frames.  Here is our set-up for today’s portion of the craft:

Continue reading

Valentine’s Day Craft


Here is a quick and easy craft you can do in your classroom or studio:  Make a wall of hearts!
We started ours last week – I left out heart-shaped red, pink and white paper and a bowl of crayons next to a sign that says “Why Do You Love Dance?
“I like dancing because it is fun”
Dancers (and brothers, sisters, moms and dads) have been writing and drawing why they love dance all week.
Even the Big Girls got in on the action!
And a note from a “Dance Daddy”:
It says “I like to watch my girls grow with dance”. 
The Heart Wall has been a nice addition to our waiting room  – everyone has enjoyed reading the responses.  I think I’ll leave it up for the rest of the month!
If you can’t wait until next year to try this, you could do this any time of the year – or go with the next holiday… clovers for March:  “I’m Lucky To Dance Because…” or Spring umbrellas… be creative!

More Valentine’s Day dance ideas:

Holiday Craft: Personalized Ornaments

I wanted to share a gift I made for my youngest students (ages 5-7) that was easy and fast to make…and it was cheap!

24 Shatter-proof Ornaments – $3.50
Permanent Paint Marker – $2.00
Spray Glitter – $2.99
Ribbon or pipe cleaners – $1.99
Cost per student: Around $0.40

If you have more students, the cost per student only goes down because the paint makers and glitter will be able to be used again.  I already had the silver paint marker, spray glitter and leftover pipe cleaners so my only cost was the ornaments – and my students were so excited to see their name on an ornament and moms were appreciative that they weren't getting a sugar-high before dinner.

Read more »

Holiday Craft: Cookies and Brownies in a Jar

Everyone loves cookies and brownies! However some dance teachers are overwhelmed by food and candy presents during the holidays that end up going bad by the time holiday break is over.

Want to give your teacher something homemade? The cookie ingredients in a jar is a gift that can be made easily by children, and the recipient can make the cookies after the holidays are over or whenever is convenient. And since cookies are just about everyone’s favorite treats, give a fresh-from-the-oven gift that will keep on giving.

This gift has endless possibilities – just find your favorite cookie recipe and get a clean mason jar with a lid.

How To Make One
You will need: A large mason jar with a lid (1-quart or 1-liter)
Your favorite cookie recipe
Baking ingredients (flour, sugar, chocolate chips, nuts, dried fruit, etc)
Ribbon, cloth or other decorations

You are going to layer the dry ingredient in the jar so that the individual ingredients form layers. The more varied the colors and textures of your ingredients, the more interesting your jar will look (a simple sugar cookie recipe with white sugar and white flour will not look like much). After layering your ingredients, close the jar and decorate with ribbon or cloth. Include the recipe directions on a little card.

Tips

  • Once you put each ingredient in the jar, tamp it down with a long-handled utensil.
  • White sugar, flour and confectioner’s sugar tend to “seep” through layers – it is wise to put them on the bottom to avoid them seeping into other layers (like chocolate chips).
  • Don’t forget to include the recipe – including an expiration date is also a good idea. If stored in a cool, dry place, jars will last up to 6 months. If your jar contains nuts, it will last 3 months.

Beyond the Jar
Dress up your gift by placing two ingredient jars in a large mixing bowl and wrapping the whole thing up like a gift basket. Throw in a wooden mixing spoon, potholders or holiday tea towel if you’d like.

Recipes
Cookie in a Jar
Double Fudge Brownie Mix
Oatmeal Cookie

More Resources
Tips and Recipes
More cookie recipes
Tips from FamilyCraft.com
More Gifts in a Jar

More 2010 Dance Gift Guide

Holiday Craft: Personalized Clipboard

From eHow – Decorative Clipboard

An original gift for your favorite dance teacher, studio owner, dance director or office manager: a personalized clipboard!

Here a few different tutorials:
Decorative Clipboard (eHow) – pictured at right

Chalkboard Clipboard (Craftzine)

Simple Clipboard Update (Vanilla Joy)

Inspiration for decorating your own clipboard

And here’s a video tutorial for an altered clipboard – if you stop before adding the album, you have yet another beautiful clipboard upgrade!

See More Teacher Gift Ideas