Renovation… Unsteady Progress

A few weeks into June, with nothing other than a new wall accomplished, I admitted to myself that having the room ready for July summer classes was a bit ambitious.  Could we have held classes with a boombox on the carpet?  Sure.  Was that the first impression of the new and exciting space I wanted to give my clients. Uh, absolutely not.

So, onto painting.  But wait!  First the other studio location has to have a pipe burst!  And flood the entire space!  And ruin lots of things!  And require insurance inspectors and summer camp last-minute changes and new rugs and potentially ruined marley!  Because chaos!

::deep breath::

So that was a fun weekend of clean-up and tears and then realizing that a pipe bursting during summer and destroying a bunch of old costumes is not the worst thing in the world, even if it is inconvenient and a pain to clean up (imagine if it happened a week before recital and ruined THOSE costumes?!).  It is also just a bit disconcerting to find your entire space covered in water.


But, back to the matter at hand – oh yeah, I was supposed to be painting, not mopping up water.

And look, a new window!

It turned out, when picking out window sizes that this size was the best one to go with because any bigger was a big jump in expense.


Making progress…

To Do List

X Connect spaces

X Build waiting room wall

X Waiting room window

X Paint waiting room

X Paint dance room

– Install dance floor

– Furnish waiting room

– Buy sound system

– Ballet barres in dance room

– Order and install mirrors

Next up… flooring!

The Renovation Begins

So the first task in the New Space, was to connect the new space to the old space.

A refresher on what we are trying to accomplish:

So I began renting the space in June with the very, very VERY optimistic goal (did I mention VERY optimistic) of having it ready in time for July summer classes.
My contractor and I went over what I wanted and he gave suggestions and little tweaks that made more sense with things like electrical outlets and windows and building code.
And then on June 2 (five days before our end of year recital) the work began!
It was amazing how quickly the wall went up – they framed it out and had the sheetrock up in no time.  The hole is for the observation window eventually.
Looking through the “window” into the dance room.

And connecting the two space (new space is purple, existing studio is beige).

Ahhh!  I don’t know why, but when I saw this, I started getting super excited!  It’s real, it’s real!
Looking back through at the narrow waiting room.

So that was pretty much it with the professional help other than the mirrors and window installation, the rest is on me and my husband!

To Do List

X Connect spaces

X Build waiting room wall

– Waiting room window

– Paint waiting room

– Paint dance room

– Install dance floor

– Furnish waiting room

– Buy sound system

– Ballet barres in dance room

– Order and install mirrors

Next up… painting!

Summer Moving, Happened So Fast

Summer moving, havin’ a bla-a-ast!

Summer?  In October?  Ok, its been a crazy last few months – but I finally have had some time to write about my summer adventures!  Hope you are all having a wonderful start to your school years – I’ve missed blogging and am happy to get back to it.

A little background – I have two studio locations, with the smaller location having one dance room. We are in a strip of businesses and we are currently the second-to-last unit from the end. The last unit on our end used to be rented by a Curves (workout for women), but the owner decided to move on and the space went up for lease last January.  It sat vacant for a few months and I looked at the space, did some calculations, negotiated the price and by June, we were in contract!

It may sound like I jumped in quickly, but in reality, I tried to make sure it was a smart decision, talked it over with just about everyone I could think of who could give me some perspective and triple-checked my break-even calculations.

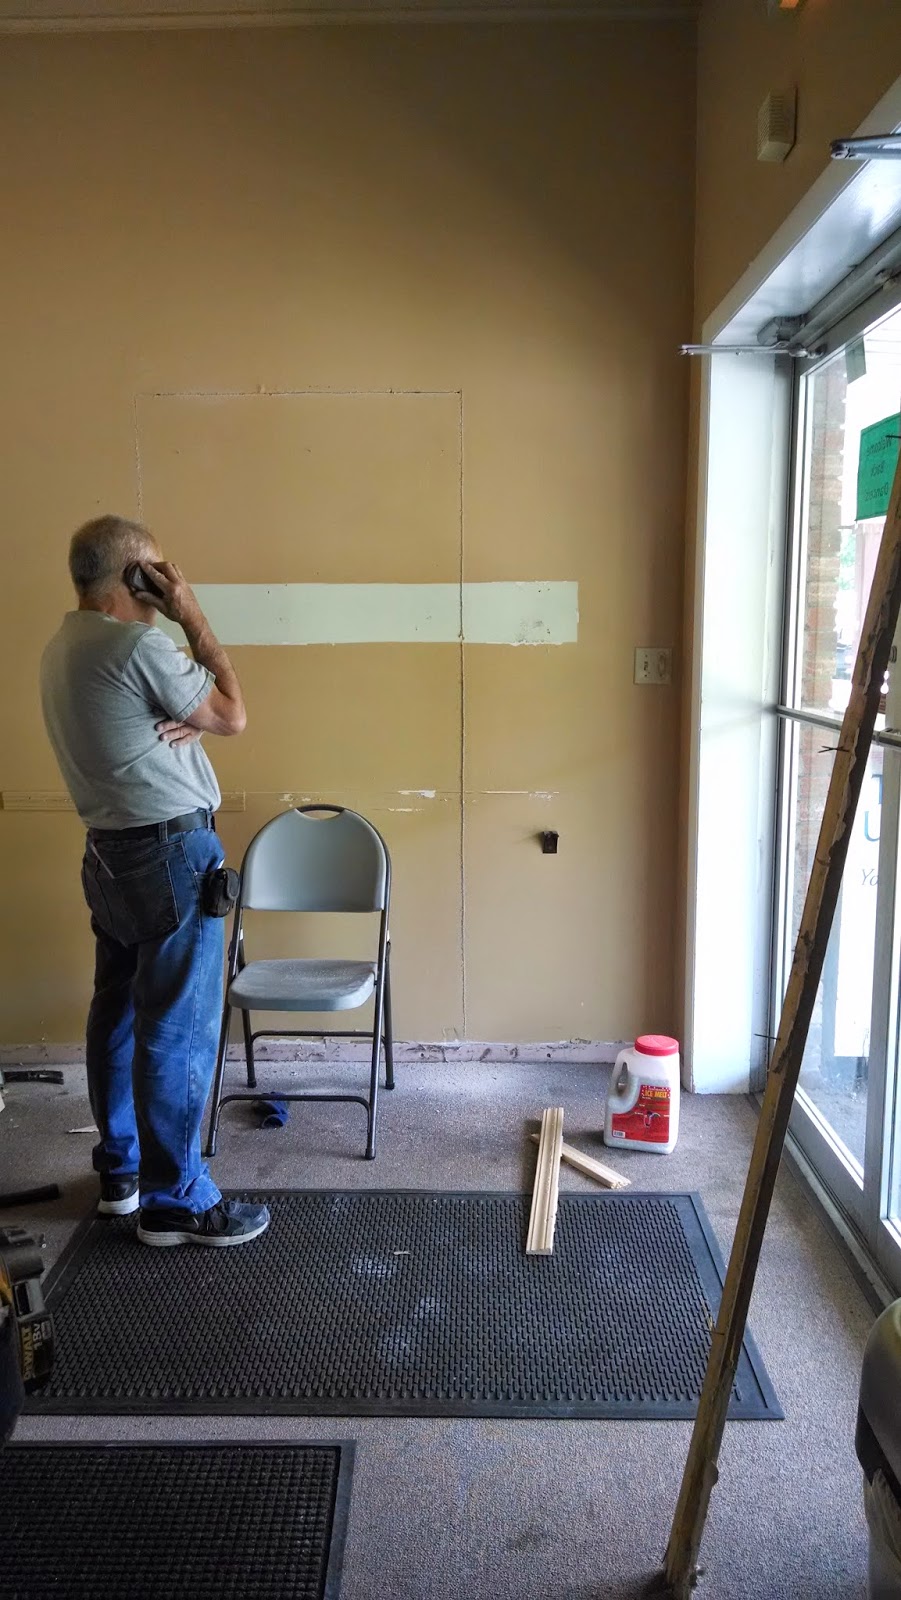
So here is a super short tour of what we started with, and I apologize for the poor quality cellphone pictures:

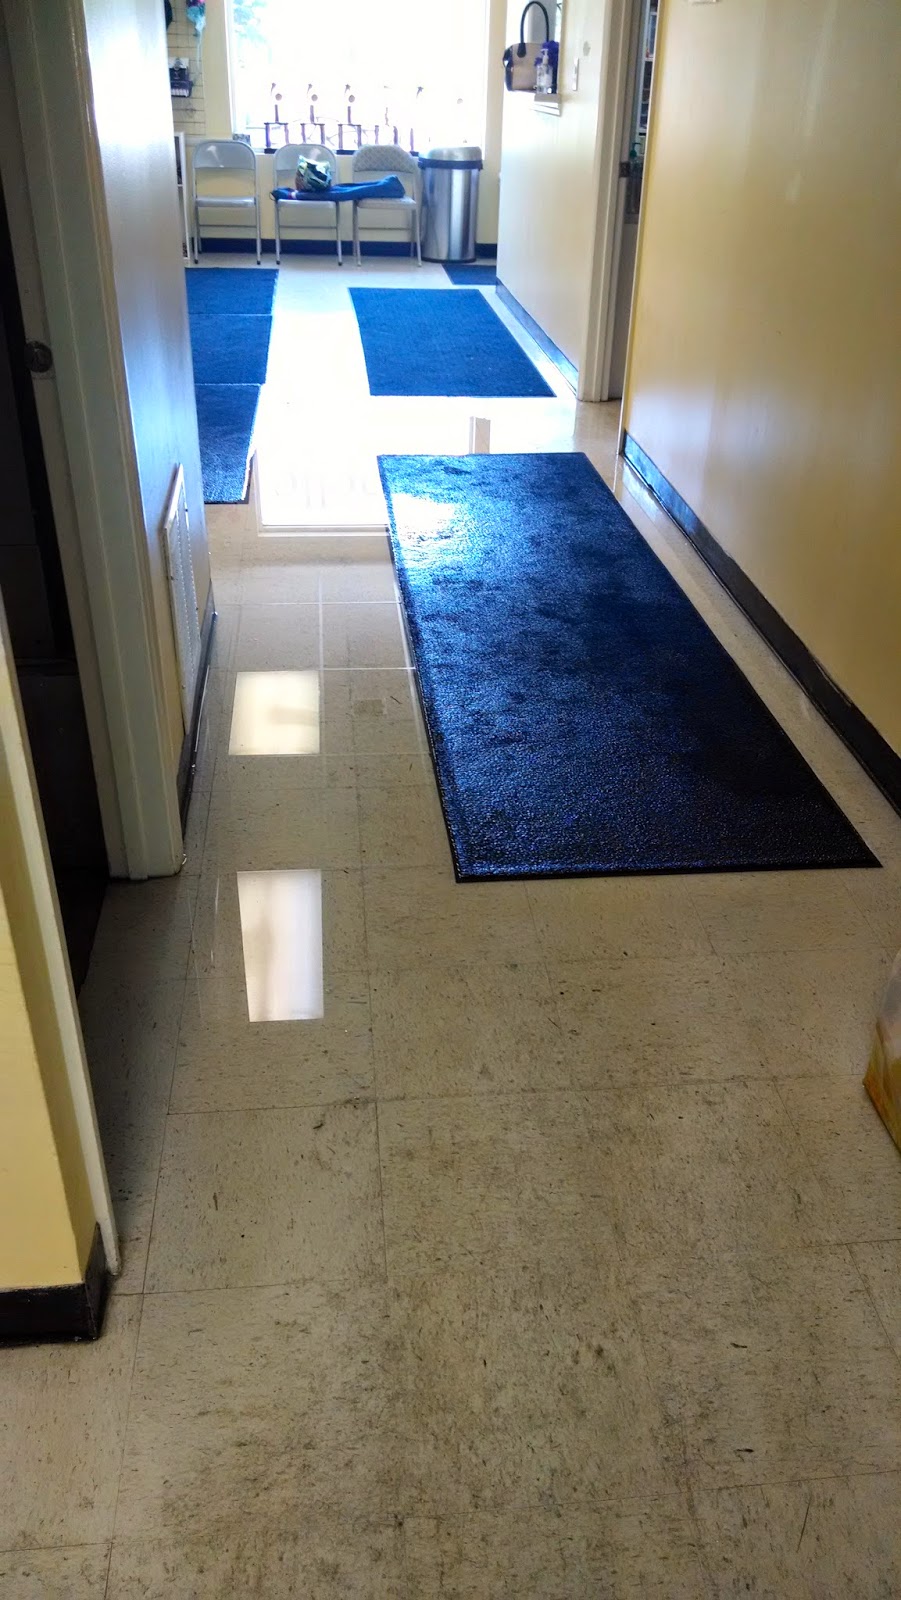
That is standing in the front of the building, looking towards the back. The doorways back there lead to a utility closet (furnace / AC units) and bathroom.

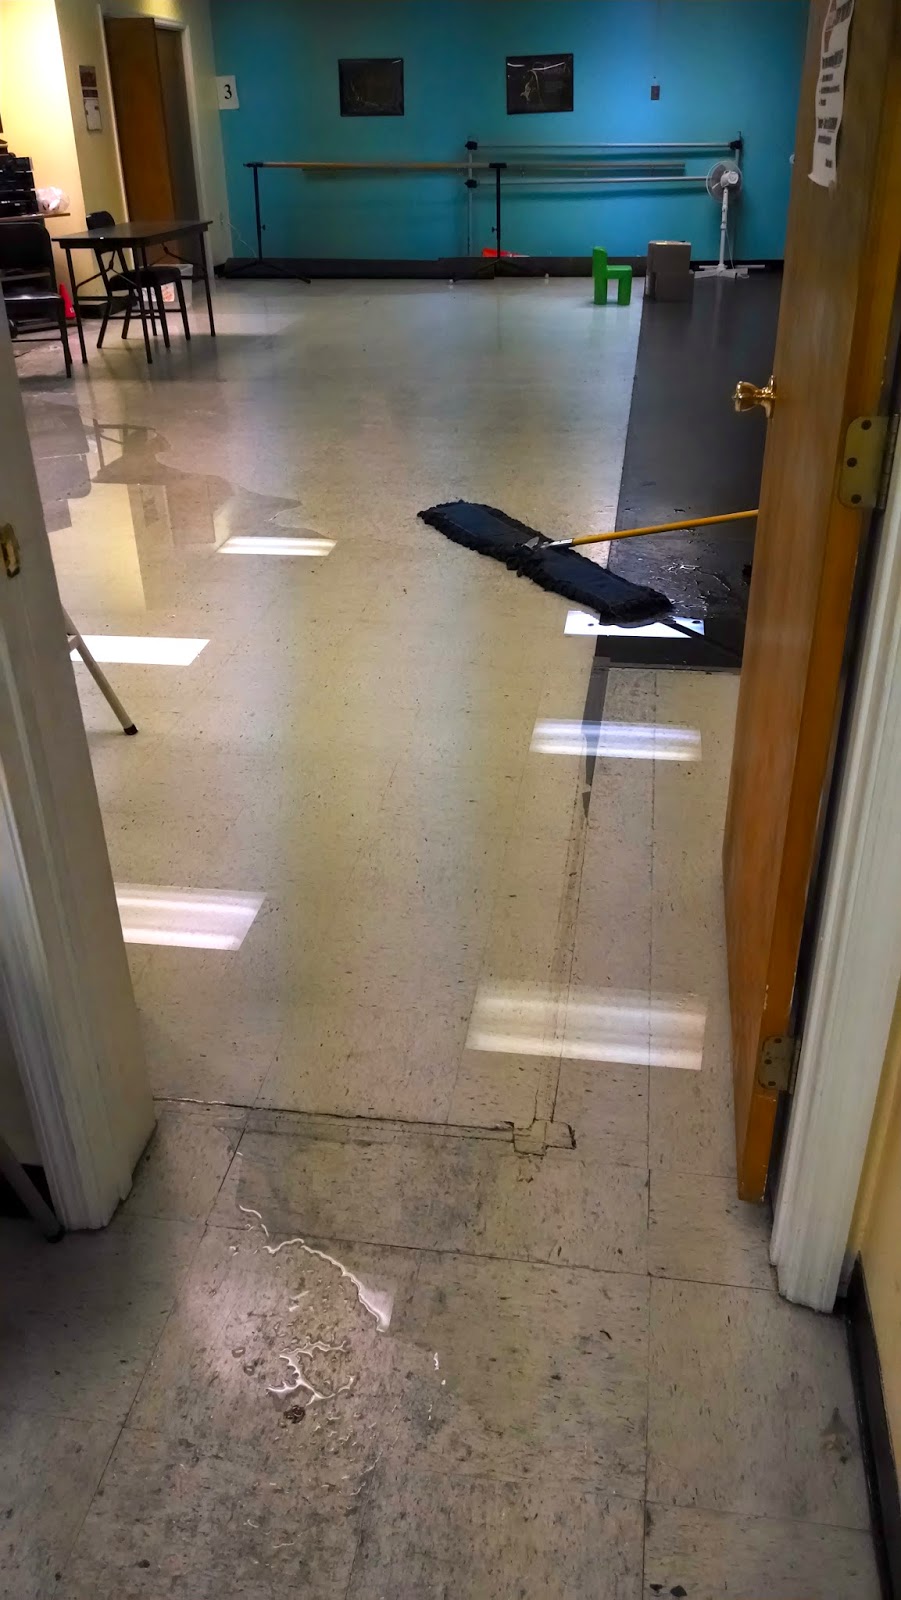
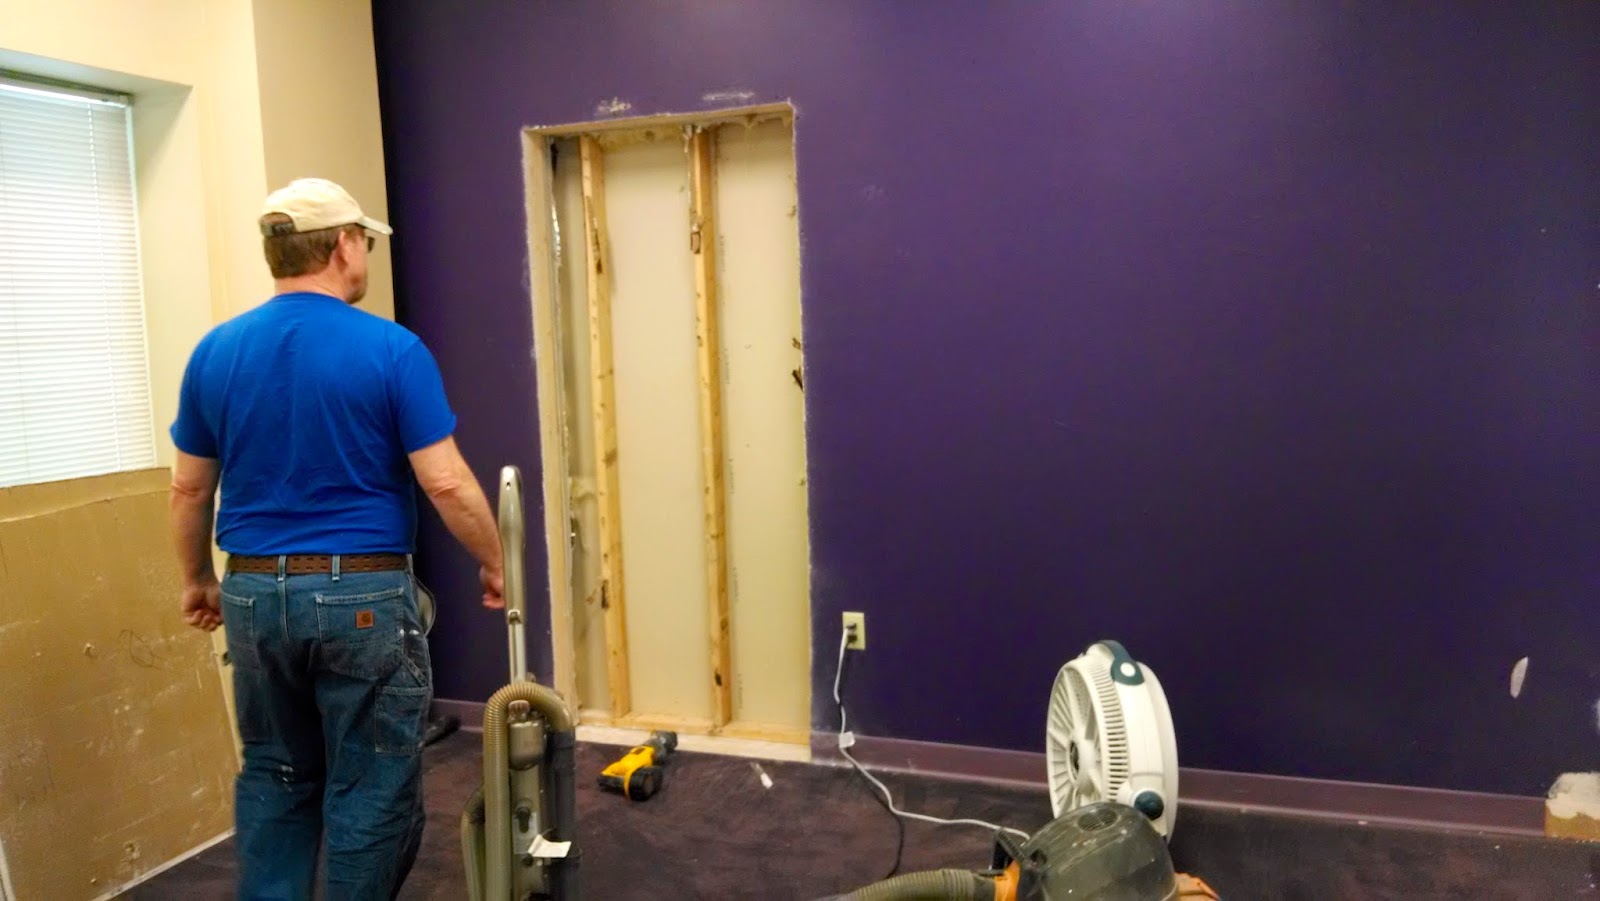
And here is standing in the back by the bathroom and looking at the front.  Our existing space is to the right (“through” the purple wall). Windows look out onto the sidewalk and parking lot and there is an exterior door to the left.  Also strangely located air conditioner to the left and yellow ladder, which did not come with the space, much to my husband’s disappointment.

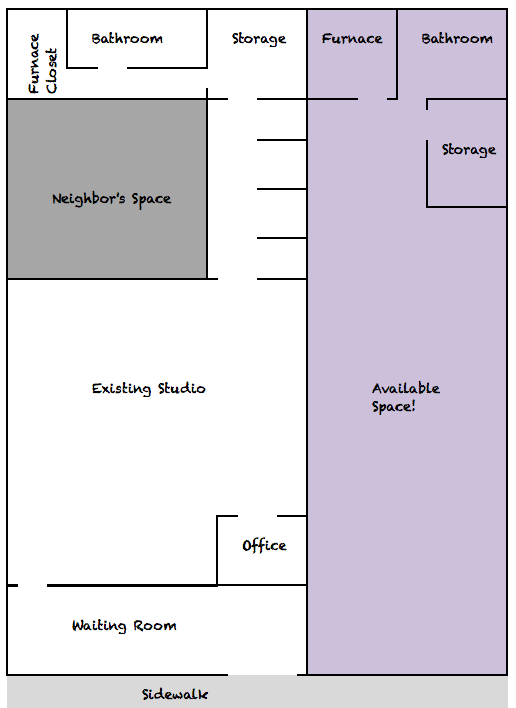
Here is a floorplan to help visualize. The new space is in purple:

So as you can see, the purple Curves space is a loooong room, but with a lot of potential!  And a lot of PURPLE.  Purple walls, purple trim, purple rug. What’s hard to see in the photos is that the ceilings are actually 10′ tall – which is awesome!
After brainstorming, our potential game-plan into turning this into a functional dance studio was this:
1) Divide the space and create a waiting area – one of the biggest struggles of our existing space was the waiting room was very narrow and small.  It was impossible for anyone with a stroller to enter and would be crazy when one class was leaving and another arriving.  I wanted to make the new waiting room a little bit deeper to help fix this problem.
 
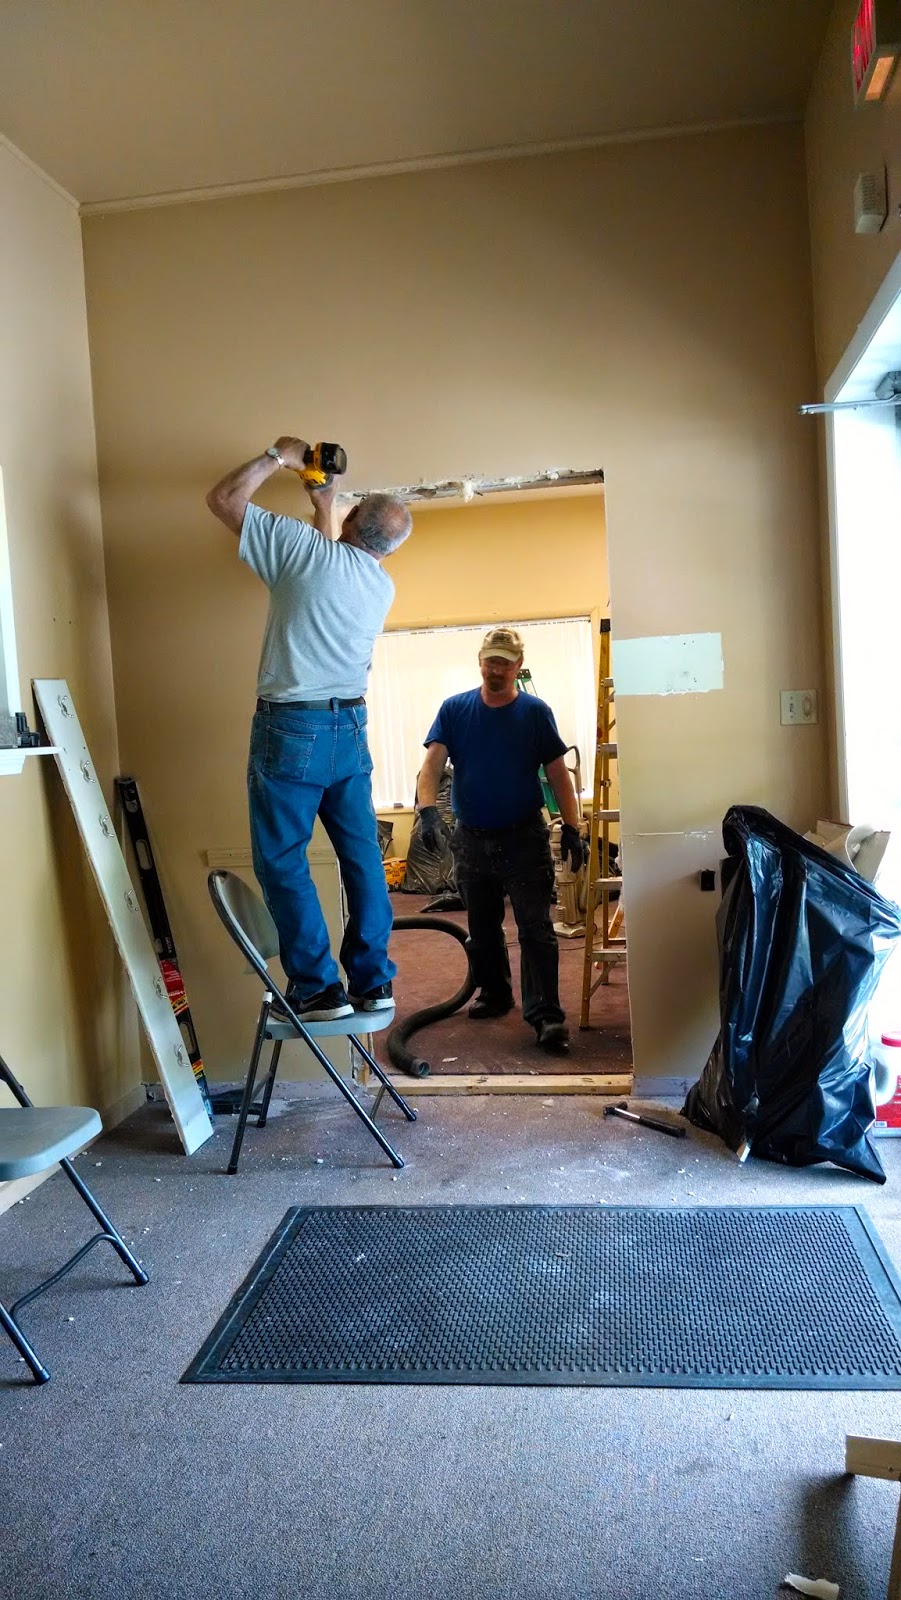
2) Adding connecting doorways – we needed to connect the two spaces together, by joining the waiting rooms and in another spot.  In the waiting room, I wanted an open doorway to make the rooms feel very open and encourage overflow from the narrow waiting room into the larger one.
I also wanted to a door connecting the two studios, but <SPOILER ALERT> apparently the wall between the two studios was filled with bricks?!  My contractor found this to be annoying and confusing (as did I).   The only other place that had just sheetrock separating the two spaces was all the way in the back through the furnace closet.  Not ideal, but as Tim Gunn says, we made it work.

I know you are anxious for beautiful before and after photos, which I PROMISE will happen, but in another post!

8 Instagram Post Ideas For Your Dance Studio

Is your dance studio or company on Instagram?  Scared to take the leap? (dance pun intended) Here’s a few tips on how to get started and what to post.

Don’t worry about posting daily – in fact, if you post too many times a day, you may annoy your followers.  It seems like the sweet spot is once a day to a few times a week.  For my studio, I end up posting on average 3-4 times a week unless I’m running a contest or it’s a big event for the studio (recital or competition weekend, for example).

Ok, so now you’ve made an Instagram account… what do you post?

8 Instagram posts ideas for your dance studio or company

1. Your dancers:  The most obvious is to post images and videos of your students dancing!  Be sure to mix it up – some of the cute babies in class mixed in with your best students along with some great action shots from performances.

2. Behind the scenes:  Making costumes?  Folding programs?  Hanging the backdrop for the show?  My students and parents love to see the “behind the scenes” photos.


3. Class videos:  This is a great way to expose potential students to the different class types.  Post a short clip of your newest class offering to show students what that class might be like.

4. Hold a contest or photo challenge:  I like to hold contests during school breaks because it gives the kids something to do and keeps them thinking about dance.  Our most recent one was “Spring Break Photo Contest” and dancers had to post a photo of themselves dancing on Spring Break.  We got a lot of fun pictures back that we shared in-studio and on Facebook.  Make sure to use a hashtag for your contest (#ABCstudio).

  • Leap / Jump Contest – followers have to post their best leap or jump
  • Favorite Costume – post a photo of their favorite costume
  • First Year Dancing – any photos from their first year of dancing
  • Dance Everywhere – post a photo of them dancing in an unusual location

5. Dance education:  Post a photo of a famous dancer and have your followers guess who it is.  Share photos of famous ballets and dance companies.

6. Motivation & inspirational quotes:  I like to post these every so often.  I find a lot of them on Pinterest.  Instagram Etiquette Tip: If you borrow someone’s quote, play nice and credit them.

7.  Hashtags:  (Or should I say #hashtags)  Hashtags are a fun way to make your post accessible to more people and are good for when you’re looking for an idea to post something.  My favorite dance-related hashtags are:

  • #TutuTuesday – anything ballet!
  • #TiltTuesday – just what it sounds like
  • #TBT or #FBF – (Throwback Thursday & Flashback Friday) – post an older photo from months or years ago.  These posts usually get the most “likes” on our studio Instagram.
  • Make up your own! What about #musicmonday and post some songs from the upcoming performance?  Or #flexibilityfridays and showcase some tips on how to get more flexible.  Check out this great idea from Maria’s Movers on creating a hashtag for your performances.  Some more hashtag ideas from Dance Spirit.

8. Integrate your posts with Facebook and Twitter:  Instagram makes it easy to connect your account to your Twitter and Facebook accounts and you can share the same posts on all three social media sites at one time.

Have fun!

Further Reading: http://schoolempower.com/blog/posts/20…

Follow The Dance Buzz on Instagram!

Do you use Instagram?  What tips can you share about posting photos and videos? What are your favorite photos to see?  What gets the most likes?

Camp Tuition Calculator

Holding a dance camp this summer and wondering what to charge?

Camp in a Can has a handy tuition calculator downloadable for free on their website (scroll to the bottom and click on the blue folder).

Updated:  The current version of the calculator is using 7 days for the week (most camps are 5 days…I sure as heck don’t want to work 7!!), so make sure you change the formula under Step 3 “Total Hours Per Week” to be multiplying by 5 or however many days your camp is.  If you’d rather not change formulas, then just input how many hours your camp is running per week in the grey box under Step 3.

Shhhhh… *spritz spritz*

Quiet Spray

“Quiet Spray” – found at The Lemonade Stand blog.  As they suggest: …spray the ROOM to signal children to get quiet.  Or you can just leave the bottle empty.  Mine love the mist in the air….I do not condone spraying a child!  As much as you might want to!  Ha!”

I thought this was a cute idea, even though I don’t have too much trouble with talking in classes (knock on wood…), but every so ofter there is a class that is just the right mixture of personalities to create the chit-chatty class.  Sometimes it only takes one or two chatterboxes to make you want to reach for the quiet spray…especially in my high school classes 🙂

On second thought, maybe I should make some interchangeable labels:

“Pointe-Your-Toes Spray”
“Choreography Cleaner”
“Insta-Turnout”
“Dance Bills-B-Gone”
“Spotting Spray” (NOT to remove spots, but to add spotting to turns!)

Any others you can think of for when you’re having “one of those days”?

Why, Discount Dance, Why?

It’s the first day of dance and your newest little toddler students enter the room in their new dancewear – hair pulled back, cute little leotards, pink tights and then you look down at their feet and you see:

Flimsy slipper
THE HORROR!
The super soft fake satin ballet “slippers” they unfortunately sell next to dancewear at Target and Walmart.  Every preschool teacher’s nightmare.  They fall off feet, cause dancers to trip and fall and are simply not suited for a dance class.
Screen Shot 2013-08-12 at 10.36.27 PM
But they truly are annoying and I cringe every time I see a parent proudly whip them out of a dance bag… usually just a case of being mis-informed.
Then today I was shopping for some new ballet slippers for myself from Discount Dance and I see this:
 Screen Shot 2013-08-12 at 10.43.52 PM
Let’s take a closer look…
s200

AHHHHH!  Eh tu, Discount Dance?

I mean, I understand that Target and Walmart might not care if the bedroom slippers they are passing off as ballet shoes aren’t ACTUAL ballet slippers, but Discount Dance should have SOME shred of integrity when it comes to shoes that are listed under the “Ballet” category!  Whyyyyyy??

At least one of the reviewers (mind you, a 13-year old who has better sense then a dance catalog) wrote:

“I’m just going to quickly say if you are planning on buying these to wear them, don’t…Anyway, I actually made them in to a keychain!”

The only use for this shoe is as a decoration!

Ok… rant over.  I feel better now.

At least until the first day of class…

Valentine’s Day Craft


Here is a quick and easy craft you can do in your classroom or studio:  Make a wall of hearts!
We started ours last week – I left out heart-shaped red, pink and white paper and a bowl of crayons next to a sign that says “Why Do You Love Dance?
“I like dancing because it is fun”
Dancers (and brothers, sisters, moms and dads) have been writing and drawing why they love dance all week.
Even the Big Girls got in on the action!
And a note from a “Dance Daddy”:
It says “I like to watch my girls grow with dance”. 
The Heart Wall has been a nice addition to our waiting room  – everyone has enjoyed reading the responses.  I think I’ll leave it up for the rest of the month!
If you can’t wait until next year to try this, you could do this any time of the year – or go with the next holiday… clovers for March:  “I’m Lucky To Dance Because…” or Spring umbrellas… be creative!

More Valentine’s Day dance ideas:

January Challenge: What’s in Your Bag?

Did anyone ever have any of the bags above? (The first one is a vintage bag from Etsy)

A dance bag is a dancer and dance teacher’s most valuable possession.  Back when we used to use CDs instead of iPods, my bag weighed 50 lbs from the giant CD case I lugged around… now it still is pretty hefty, because I filled the empty space with water bottles and props. #notthesharpestpointeinthebag

January’s Blog Challenge Mission:

So for the first Blog Challenge of the new year, I want to know:

What’s in your dance bag?


Grab this snazzy badge for your post
if you’d like to  be-dazzle your blog!

How to Participate: 

If you have a blog:

1) Take a picture, make a video, write a post or find one that fits the theme (it doesn’t have to be a new post if you’ve already written something that answers the question).


 2) Then make sure you leave a comment below with a link to your post so we can all read it!

Don’t have a blog? 

No problem!  Participate by leaving a comment below, tweeting @thedancebuzz or posting to our Facebook wall a picture of your dance bag, or comment with your favorite item in your dance bag.


I’m getting my post ready to go and am looking forward to taking a peek inside of everyone’s bag! 🙂

The VitaVibe Ballet Barre – A Review

Enjoy this post?  Vote for me for Top Blog Contest!  How?  Leave a comment on this post.

——–

…a.k.a. “The Search For Portable Ballet Barres, Part 3”

It has been a while since I posted about my search for portable ballet barres (here’s Part 1 and Part 2), so I thought I’d do an update.

Full Disclosure:  I am not being compensated by VitaVibe or Ballet Barre Store.  I just purchased the barres for my studio and am sharing my experience in hopes that it helps others!

Since my original purchase in January 2011, I have purchased a second barre from the Ballet Barre Store, so we have one barre at each location in current use.

Both barres arrived fairly quickly (about a week or two) and were very easy to assemble. The first one, my husband helped with and the second one I put together all by myself.
Side note-that-should-be-common-sense-but-I-didn’t-think-about:  An 8-foot barre will come in a box that is.. wait for it.. 8 feet long.  Make sure if you need to move it in your vehicle that it will fit.  It was a close one in my little car!

Both times I purchased the “BD96” – an 8-foot double barre from their “Prodigy Series“.  I chose these over their heavier-weight line because we have wall barres and don’t use our portable barres that often.  The cost of the Prodigy series is also half that of the Professional series.

The connectors make it easy to adjust the height of the
barres as necessary

Each barre is lightweight, easy to move around and very easy to keep clean.  I can’t attest to the “antimicrobial properties” of the aluminum coating, but the barres are very smooth to the touch and we wipe them down with Clorox wipes after use.

With the 8-foot barre, we can fit a maximum of two teen students on a side, but its much more comfortable with just one, especially if they’re using the barre for a leg stretch.  With the littles,  maximum of three littles (two on one side and one on the other).

Pros

  • Lightweight aluminum means they are easy to transport to the middle of the floor or to another room as necessary – my students no longer complain about moving the barres!
  • Easy to assemble and adjust as needed – and the Ballet Barre Store sells parts a la carte if anything were to break or you wanted to make your single barre into a double.
  • Has stayed much cleaner than the wood barres.  It doesn’t get that “grubby” feeling… and no more splinters!
This is the bottom part of the barre, where you can see the only visible scratches.
They are from little tappers experimenting with how tap shoes sound on an aluminum barre!
  • The feet of the barre are covered in rubber, which means no more scratched marley – yay!
  • The company gives a 10 year warranty on all of their barres.
Oooh, shiny!

Cons

The only downside to these aluminum barres is that the barre is sometimes too lightweight and feels like it could be pushed over.

While this forces the students to be more conscientious about not leaning or relying too much on the barre, it makes me a bit nervous that they if they ever actually do lose their balance, a big grab might knock the barre over.

So far it has not happened, but it just doesn’t have the sturdy feeling that our older (and much heavier) wooden or metal barres do.  Heck, the ones we used in college were made of some sort of heavy piping that took 2 – 3 of us to even get it to budge!

Would I Buy Again?

Yes – overall, the pros definitely outweigh the cons.  However, next time I might be tempted to try the Professional series, which is made out of a bit thicker aluminum, which might add enough heft to counteract how light they are to move.